

My bread boards were in dire need of a bit of TLC. Occasionally I smoothed them over with a bit olive oil but it seemed to wash/wear off quickly... Some of my wooden spoon were getting a bit dried out as well and looking decidedly second hand so I decided to have a look on the net and see what oil I could use to bring them back to their former glory...
Of course, the net was full of wonderful ideas and recipe's. I found one that I thought would work for me. It was a recipe for spoon butter
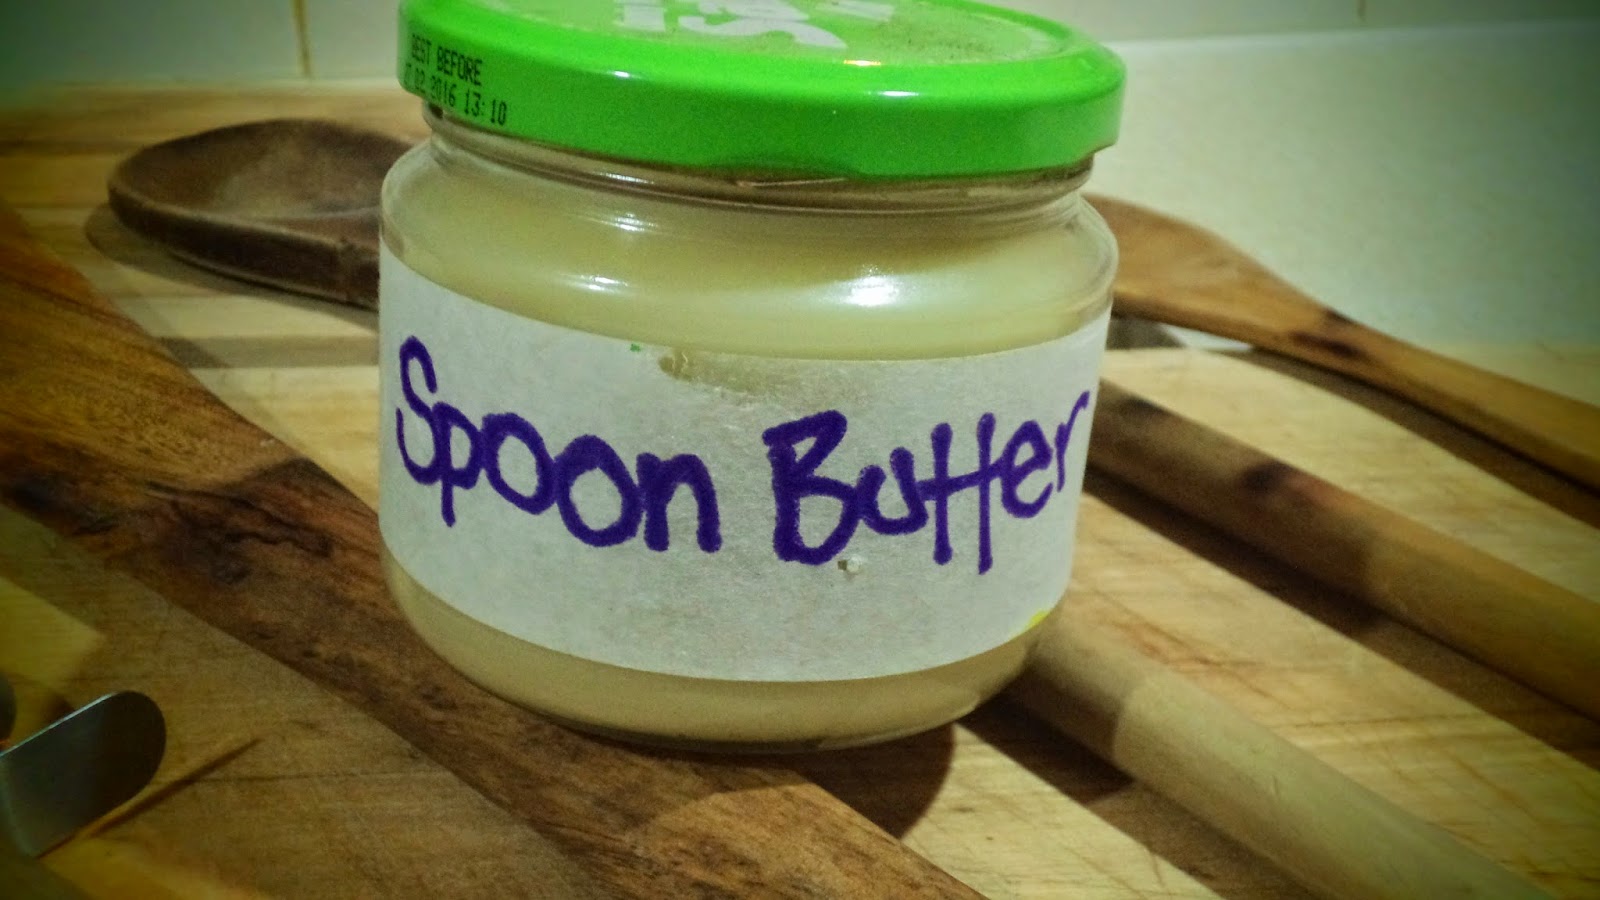


Spoon butter would make a fabulous Christmas gift for the cooks that you know - but I noticed that my label became "oiled" quite quickly... Maybe a laminated tag with instructions would work better.
I also found that the spoon butter soaked into my hands and left them feeling really good. Maybe pop a few drops of your favourite essential oil in and use it as an intensive hand cream instead of using it as spoon butter...?
I'm quite keen to try this with the coconut oil now - I just need more wooden things to put it on!
Score card:
Green-ness: 5/5 for using natural products to extend the life of your utensils
Frugal-ness: 3/5 depending on what oils you have/use and wether you can find a bit of beeswax in your third drawer down!
Time cost: About 10 minutes to make, overnight to set and a minute or two to massage each utensil.
Skill level: If you can boil and egg - you'll be just fine!
Fun-ness: Its was really good fun to smooth the butter all over the spoons and left my hands smelling of honey!
Of course, the net was full of wonderful ideas and recipe's. I found one that I thought would work for me. It was a recipe for spoon butter
Here's what I did...
Spoon butter, I quickly discovered, was easy to make and just what was needed. To make spoon butter you need a wide mouthed jar and some beeswax and some paraffin oil. My beeswax was in the third drawer down (goodness knows what else is hidden in this treasure drawer) and the paraffin came from Woolies for the princely sum of about $2.50. The wide mouthed jar came from my jar collection - just make sure it will hold about 250ml for this recipe.
--Spoon Butter--
50gms of pure beeswax
200mls of paraffin oil
Jar that can hold about 250mls
Clean your jar and then pop it into a pot of simmering water with the beeswax cut up into small pieces. Gently melt the beeswax.
When the wax has melted, slowly add the paraffin oil. It will be colder than the beeswax and make the mixture go lumpy. Just continue to heat and stir gently until it all melts together again.
The mixture smells and looks just like honey at this stage!
Either leave it in the pot over night to set or if you can lift it from the pot (pop the lid back on first in case it tips) leave it on the bench over night to solidify.
And in the morning you get a jar of creamy spoon butter!
It smells beautiful!
Get out all your wooden bits and pieces
Dig out a scoop with your hands and slather all over your breadboard, wooden spoons and anything with a and unvarnished wooden handle.
Its not so easy to photograph but you can see the difference between the two breadboards - in colour anyway!
Before (left) and after (right) pictures... The difference under fluoro light isn't so great on the mass produced stuff but my hand made spoon came up just wonderfully. Leave the butter on your utensils overnight and then in the morning, wipe of any excess and buff with an old piece of cotton material.
I can highly recommend spoon butter for both your spoons and your breadboards!
For this project I used medicinal grade paraffin oil found in the "medicine" isle at the supermarket. Its sold as an "old fashioned" cure for constipation and can be taken orally. I figured that if you could drink the stuff then it would be ok to use on things that you cooked with.
The original spoon butter recipe that I found on 3191 miles apart blog used the paraffin oil, but of course after you find and make something you almost always find an tweak that you wished you had tried! Heidi over at 101 Cookbooks used Coconut oil for her spoon butter - a tweak I will try next time I make some. She says the coconut scent it impregnates the wood with, is divine. She is also against using by products of the petrochemical industry which paraffin oil is and coconut oil isn't!
Spoon butter would make a fabulous Christmas gift for the cooks that you know - but I noticed that my label became "oiled" quite quickly... Maybe a laminated tag with instructions would work better.
I also found that the spoon butter soaked into my hands and left them feeling really good. Maybe pop a few drops of your favourite essential oil in and use it as an intensive hand cream instead of using it as spoon butter...?
I'm quite keen to try this with the coconut oil now - I just need more wooden things to put it on!
Score card:
Green-ness: 5/5 for using natural products to extend the life of your utensils
Frugal-ness: 3/5 depending on what oils you have/use and wether you can find a bit of beeswax in your third drawer down!
Time cost: About 10 minutes to make, overnight to set and a minute or two to massage each utensil.
Skill level: If you can boil and egg - you'll be just fine!
Fun-ness: Its was really good fun to smooth the butter all over the spoons and left my hands smelling of honey!
Comments
I've tried the Spoon Butter recipe from 101 Cookbooks and it works well.