

I have been making flavoured black teas for a while and for Christmas I wanted to give some away as gifts. While I like the ritual of boiling the kettle, getting out all the tea paraphernalia and concocting my brew to suit my mood, I realise that not all my friends and family like to go to that much trouble.
They prefer the speed and conveyance of the tea bag - so taking the path of least resistance I decided to have a go at making my own tea bags - especially for them - as I very rarely use them!
Its a bit complicated, fiddly and hard to explain but read through the whole post so you can see how each step leads to the end product... Once you get it though, you've got it!
Here's what I did...

I bought these at the local supermarket for about $2.50 Each filter made one bag so if you know how many bags you want to make you'll know how many filter packs to buy! I only had a choice of this packet or nothing so I thought I'd bring it home and experiment.

I wanted to get as much bag for my buck as possible but I couldn't get more than two reasonable bag out of each coffee filter. You can get three or four - but by Gum, they are small... (and very fiddley)
Start by cutting the coffee filters end off, leaving you a strip of about 8cm.

Open up the filter and fold in half the other way, leaving you with a cross fold in the middle of the filter.

Cut the filter in half making two teabag bases.

Fold the two unjoined edges over once (or twice if you can manage it) This is to stop the tea falling out at a later stage.

Fold the bags in half. I folded then in exact half even though they have a rounded top and also, as below, to even out the bags and give them a straight edge. Once I got the hang of it I stopped cutting off the end and used the rounded edge on the inside of the fold later.

I discovered it didn't matter to me if I cut the ends off straight or not. I had a bit more fiddle room if I didn't but the end product isn't as neat. Experiment. See what you think!

It was quicker to go into mass production (80 or so bags) and get into a rhythm than to make each bag individually.

Once you have cut all your tea bags and folded them, make the tags. Its a pain to have made a beautiful teabag but be unable to seal it because you have no string tag. Its much quicker and easier to make the string tags first than to add the tag to the string later!
I measured a string on a commercial teabag (about 12cm) and added "a bit" for the part that's tucked inside the tag and inside the bag. I cut rectangles of coloured paper that corresponded to my flavours (Green for Irish cream, orange for almond, cream for cookies and cream!) using the "that's looks about right" method of measuring.

Once you have all your tea bags cut and folded and all your strings tagged you can start your tea bag production line!
Place a teaspoon of your home flavoured tea in the center of the pre-folded bag.

Spread it out into two piles so that when you fold the bag in half the tea doesn't bunch at the bottom to much making it much harder to do.

Fold the bag in half lengthways and pull over the side bit you pre-folded before

And then fold over again to seal the tea inside. Some tea bag makers moved the join fold to the center of the bag. I found this a fiddley extra step but it did make for a neater more professional looking bag (I like the "rustic handmade look" - its easier to palm my laziness off as the "charm" of the handmade product than to admit making 80 tea bags was a mammoth task!)

Now fold the bag in half. Either to the beginning of the curve or right to the top. You can now see the teabag starting to really take shape! It should fold quite easily if the tea is separated about where you want to fold it.

As I said before, I stopped doing this step and took the edge further as once you fold the top over you cant see the curved bit as its on the inside. I gave me just a little bit more wiggle room.

Cut the end off if you have the time and patience and dexterous fingers!

Fold one corner down and place the string tag into the fold.
Fold the other half over to make a triangle top. If you haven't cut the curved piece off, make sure that you are folding it to the inside and that the two long folds you made back at the beginning are on the inside of the bag to stop the tea falling out. If you get to this stage and go "Darn, I've got it back to front," Just unfold it all, tip out the tea, turn your bag over and start again. Once you've made a few you'll understand how each step works and why.

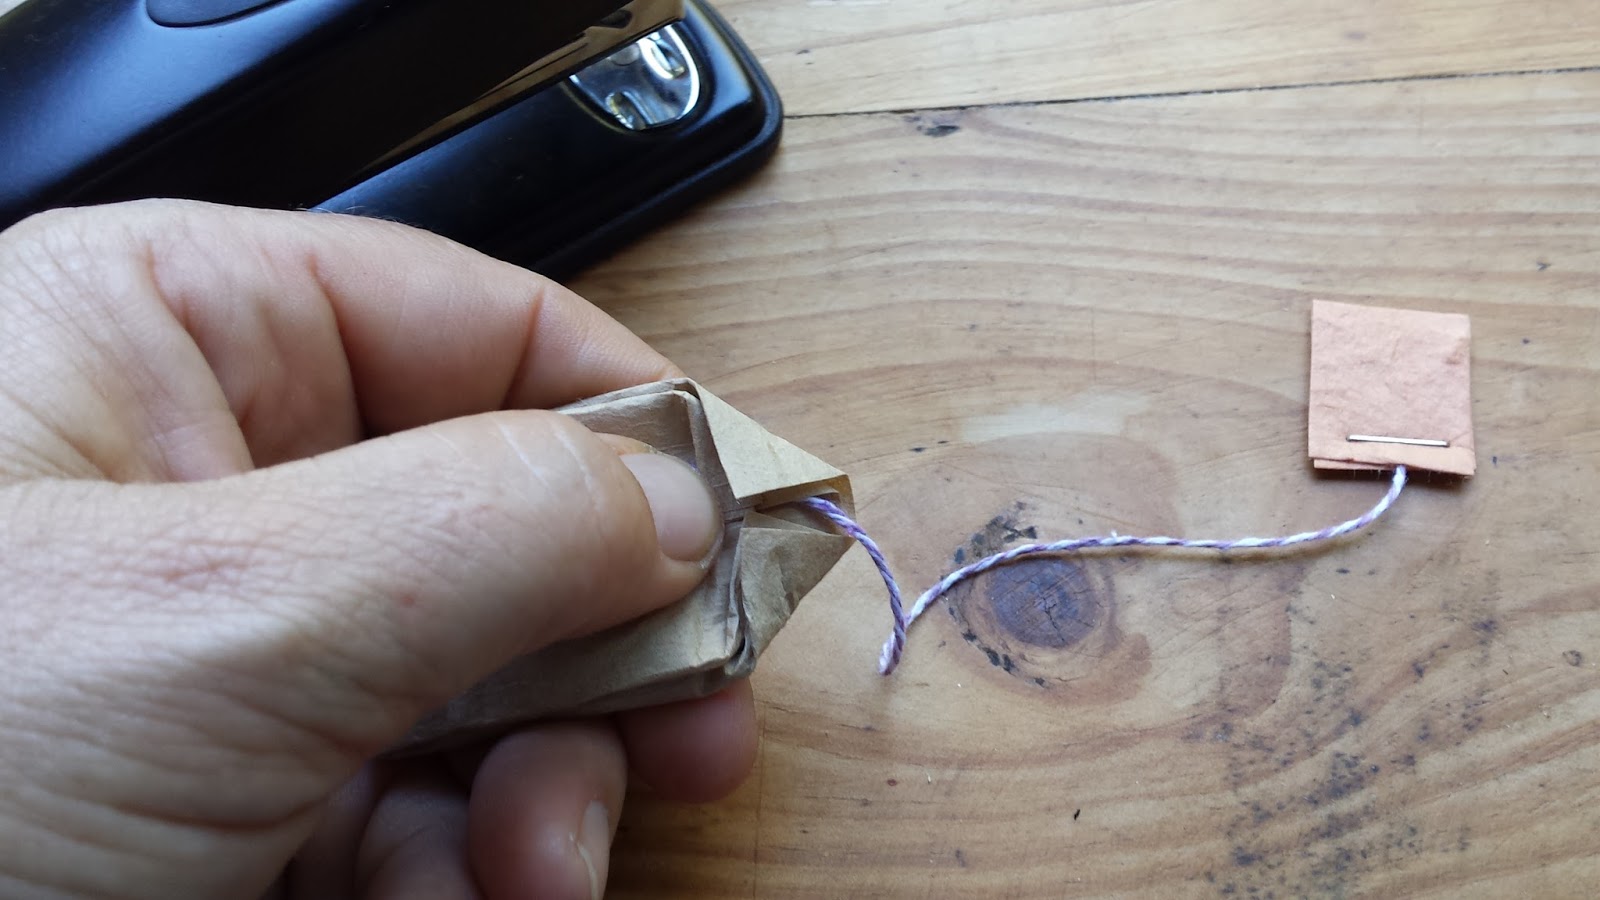
Flip the bag over and use a staple to keep the bag closed and the string in. I put the staple on the "nice" side just for neatness sake - It will make no difference to the cup of tea once its made. I'm ok with a stainless steel staple as I figure I'm using a stainless steel spoon in my tea anyway. If the staple has rust or is made from something else, I wouldn't be so keen...
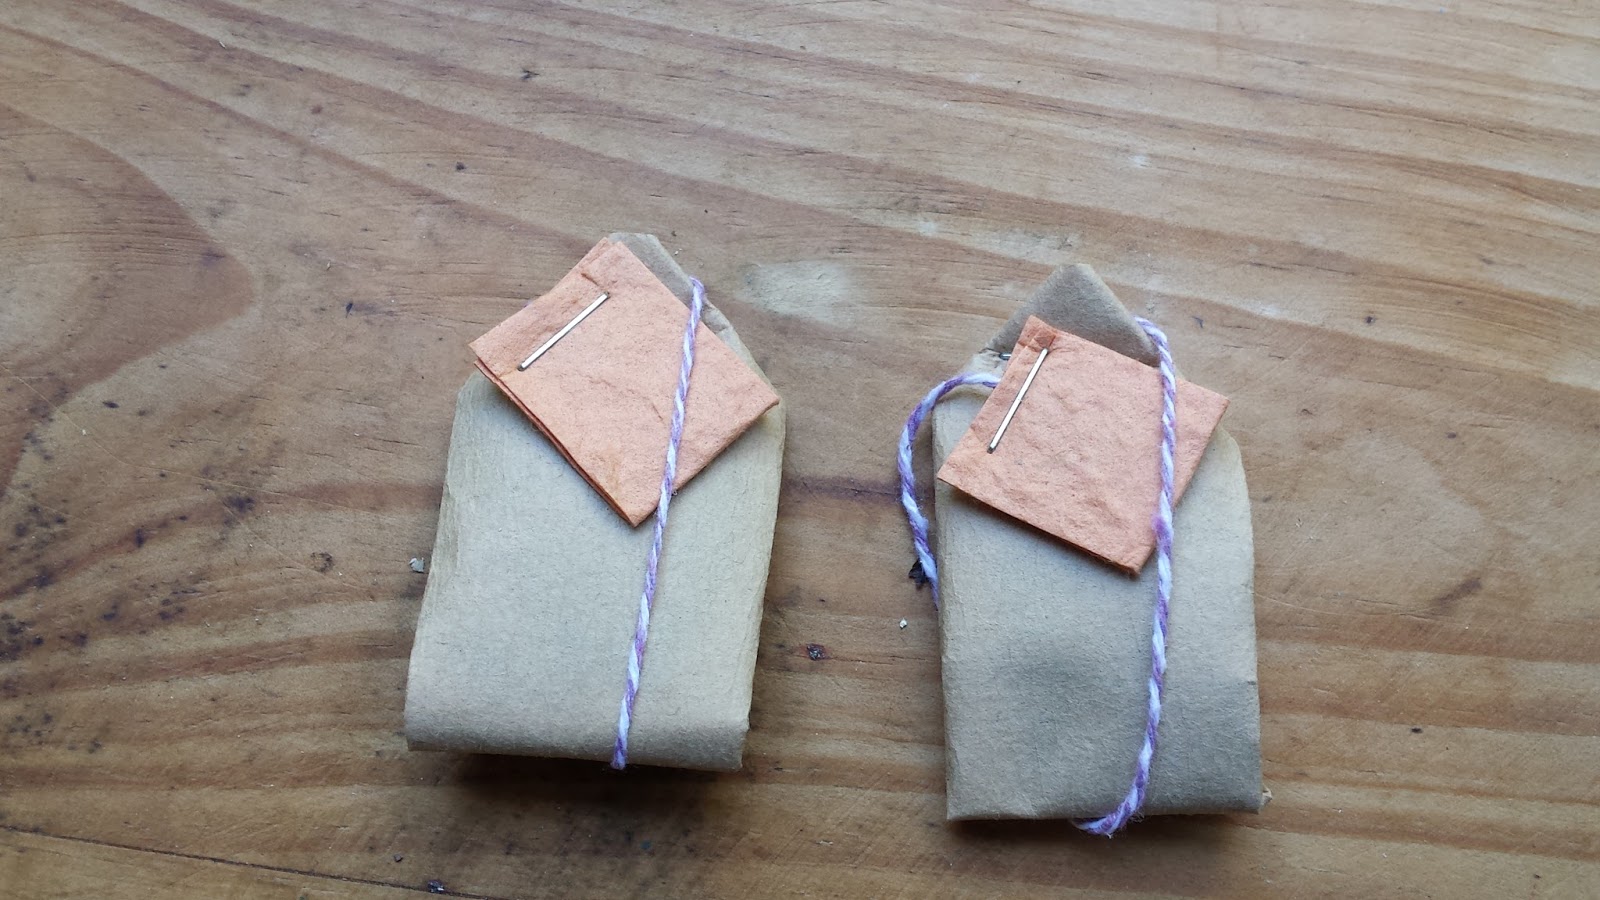
Pull your string around the bag and tuck the tag in and Voila! A rustic, unbleached, home made tea bag with your very own hand flavoured tea inside!
Enjoy!
Green-ness: ?/5 Again not sure about how green this is - what do you think? Its always greener to use less things so a pot of tea is probably a lot greener...?
Frugal-ness: 5/5 Much much cheaper than buying flavoured tea bags from the shops! The parts are all cheap or free if you have them in the pantry or in the craft cupboard already
Time cost: Hmmm... More than you think... To make a single bag (with already flavoured tea on hand) would be about 3 minutes. To make 80 took a few hours one afternoon to cut and fold, another few hours one morning to make all the strings and few hours another morning to fill and staple closed. It took about three minutes to pop them in the containers I had made!
Skill level: Not so much skill as patience and dedication. And time... Lots of it!
Fun-ness: Really, really good to sit back and survey the finished products - and to try your own home made tea bag!
Comments
Spring cleaning Neutral Bay
End of lease cleaning Bungarribee
End of lease cleaning Burraneer